
I’ve been using the $22 RTL-SDR dongle for the last few years to learn about software defined radio (SDR.) I decided it was time to graduate to the next level of SDR functionality, which for me includes the ability to transmit, a wider bandwidth and a higher frequency range. There is a huge gap between the RTL-SDR and the next most sophisticated SDR in both cost and performance. At the lower end of this next range is the LimeSDR Mini, which has steadily crept up in price from $139 to a current $159. It is still about $50 less than the next tier of SDRs so I placed my order at crowdsupply.com that included the acrylic case and two antennas for an additional cost.
| SDR Model | Price | Transmits? | Bandwidth | Frequency Range |
| RTL-SDR | $22 | no | 2 MHz | 2 MHz – 1766 MHz |
| LimeSDR Mini | $159 | yes | 30 MHz | 10 MHz – 3500 MHz |
| Airspy R2 | $169 | no | 10 MHz | 24 MHz – 1800 MHz |
| HackRF One | $300 | yes | 20 MHz | 1 MHz – 6000 MHz |
The unit arrived within the promised time frame and was packaged satisfactorily. The first thing one notices is that there are no instructions or documentation included. This is definitely not an SDR for complete beginners. (For those new to software defined radio I would still recommend the RTL-SDR.) However, given my past experience with other dongles, moderate Linux skills and lots of patience, I was able to get the unit running on an Ubuntu virtual machine with Gqrx and GNU Radio. The steps I took to get there are outlined below.
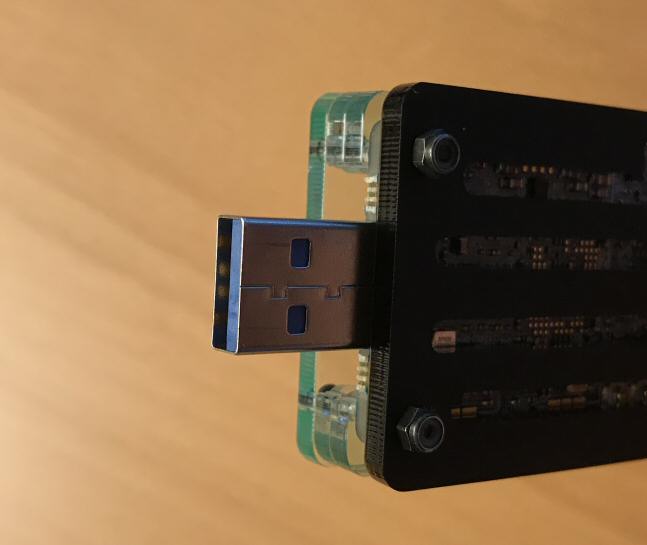
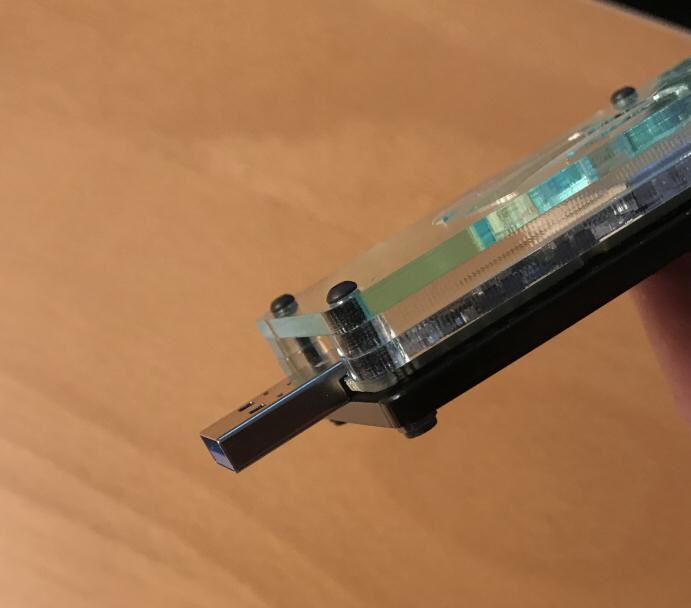
Without even a rudimentary diagram it took me 15 minutes to figure out how to put together the acrylic case which comes in about five flat pieces that look like they have no possibility of fitting together. However, it is a fairly decent case once it is assembled. I could not find any pictures on the web to guide me so these should help if you are struggling to fit it together:
The first thing I did once I had the Mini up and running was to look at the FM broadcast band in Gqrx. It was immediately apparent that the noise floor was much lower than the RTL-SDR. In addition, the large bandwidth meant I could look at the entire band in one window.

I have noticed spurious images of other frequencies showing up in various places. (see 100 MHz fuzz above) It has been noted elsewhere that for serious work, you will need to use external filters because there are none built in to the Mini. So far I’m pleased with the performance and will provide updates as I spend more time with the unit.
Setup Guide
Since there are no instructions, I’m documenting below what worked for me. This is not an official guide and your results may vary. Some steps were borrowed from other sites and are noted where applicable.
1. Set up your environment. I tried this both with a bare metal install of Ubuntu 16.04 Server and also Ubuntu 18.04 Desktop in a VMWare virtual machine. If you are using a VM, make sure the USB property setting is “3.0” and you have at least two cores. Also note you need to be connected to the internet for these steps.
2. Install LimeSuite from source using the following commands. (See https://wiki.myriadrf.org/Lime_Suite if you want the detailed explanations)
sudo add-apt-repository -y ppa:myriadrf/drivers

sudo apt-get update

sudo apt-get install git g++ cmake libsqlite3-dev

sudo apt-get install libsoapysdr-dev libi2c-dev libusb-1.0-0-dev

sudo apt-get install libwxgtk3.0-dev freeglut3-dev
3. The next set of commands will clone the LimeSuite repository and install it.
git clone https://github.com/myriadrf/LimeSuite.git

cd LimeSuite

mkdir builddir && cd builddir

cmake ../

make -j4

sudo make install

sudo ldconfig

cd ..

cd LimeSuite/udev-rules

chmod +x install.sh

sudo ./install.sh
4. Now that you have the LimeSuite installed, you can run a diagnostic tool to make sure that your PC is detecting the Lime SDR Mini. If you get any error messages retrace the previous steps to make sure one wasn’t missed.
LimeUtil --info
5. The next command will provide information about your specific SDR. Note the serial number, we’ll need it later.
LimeUtil --find
6. Before you start using the Lime Mini, you should update the firmware and Gateware. (See https://wiki.myriadrf.org/LimeSDR_Firmware_Management if you want all the details.)
sudo LimeUtil --update
7. Make sure your Lime Mini passes the diagnostic test:
LimeQuickTest --no-gui
8. Install Gqrx. I used a variation of the steps found in this post: https://www.hagensieker.com/blog/page/?post_id=104&title=limesdr—mini-on-ubuntu-with-gqrx
sudo apt-get purge --auto-remove gqrx

sudo apt-get purge --auto-remove gqrx-sdr

sudo apt-get purge --auto-remove libgnuradio*

sudo add-apt-repository -y ppa:bladerf/bladerf

sudo add-apt-repository -y ppa:myriadrf/gnuradio

sudo add-apt-repository -y ppa:gqrx/gqrx-sdr

sudo apt-get update

sudo apt-get install gqrx-sdr
9. You should now be able to run Gqrx using the command gqrx
When you first open the software, it will have a setup dialog box. Use the following settings:
- Choose “other” from device
- Set device string to driver=lime,soapy=0
- Set bandwidth to 5000000 (You can increase this if you need more frequency bandwidth)
- Set antenna to LNAW (after you leave the initial dialog box)
10. Use these commands to install the Lime version of GNU Radio. (Start in your home directory)
sudo apt-get install libboost-all-dev swig

git clone https://github.com/myriadrf/gr-limesdr

cd gr-limesdr

mkdir build

cd build

cmake ..

make

sudo make install

sudo ldconfig
11. You can start GNU Radio by typing the command sudo gnuradio-companion
You will need to enter your LimeMini SDR serial number in your Lime source blocks.
My audio was choppy and distorted in GNU Radio which was also displaying the letters Ua over and over, indicating buffer underruns. I believe this was due to the fact that I was using a VMWare virtual machine. I was able to fix it by creating a new file in ~/.gnuradio called config.conf. If you already have that file, then try making the adjustments below. This post was helpful: http://sdrgps.blogspot.com/2016/01/gnuradio-getting-audio-to-work-in-vm.html
My config.conf file looks like this:
[audio_alsa]
default_input_device = default
default_output_device = default
#period_time = 0.010                      # in seconds (default)
period_time = 0.200                      # in seconds
nperiods = 4                 # total buffering = period_time * nperiods
#verbose = false
verbose = true
Hopefully this is enough to get you started using the LimeSDR Mini!